
Dungeons of Noudar 3D
Dungeons Of Noudar 3D rendering explained
Introduction
Seems like a good time to stop and look back on the finer details of what certainly was one of the key points of Noudar 3D: it's rendering.
One of the best ways to improve is self exposing for criticism. Here is what I did, why I believe it came to be a good idea and how it could be improved [0].
Please bear with me while I guide you thru how I achieved ~12fps on a 486DX while dosing very carefully my ROI, over 2 months of working alone, in my spare time.
Goals for project
Given the data set and the original goal of rendering it as is, without changes or optimizations ("the computer is more efficient than me" - a phallacy!) on a 486 without a math-coprocessor and within 8MB of RAM. Also, I didn't want to change the RPG engine too much and certaintly didn't want to delve into ASM, sticking with C++14, since this is my day-to-day tool and I need to practice as much as possible.
From my previous attempt, I already knew that floats and GLM were out of question - mat4 multiplication was the single most expensive operation in my straight OpenGL port. I also had some really good results with sg14::fixed_point on a target machine. Also, from a few email exchanges with sg14::fixed_point's author, there was no way to use GLM with fixed_point.
From my late childhood (~12yo) experiments, I knew the bare minimum needed for a good scene for the type of game I wanted and where it could be improved. I was dying to try it!
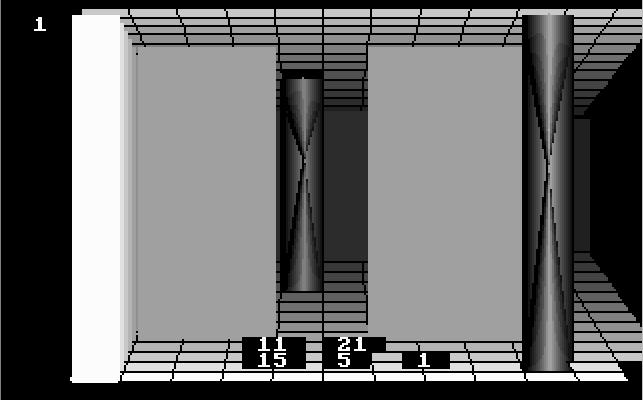
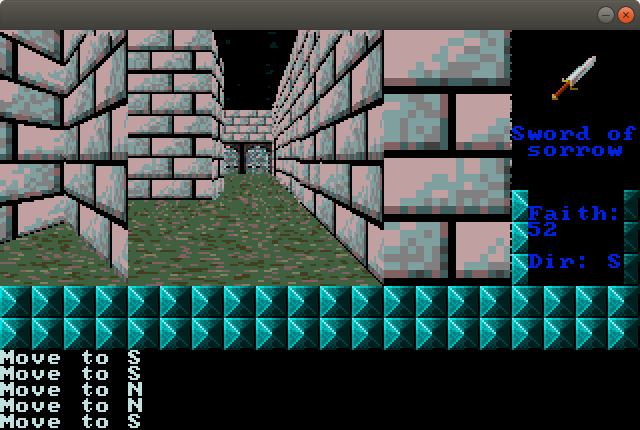
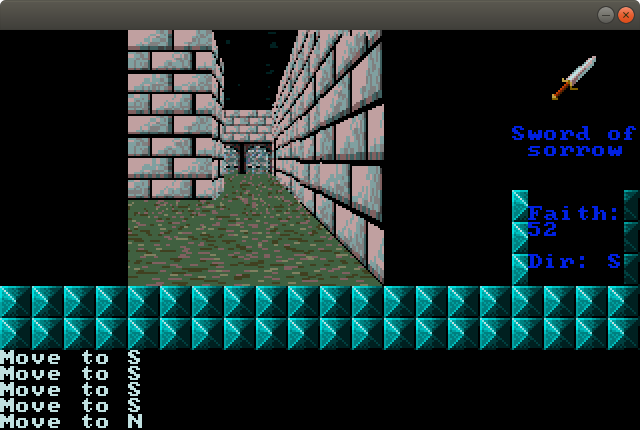
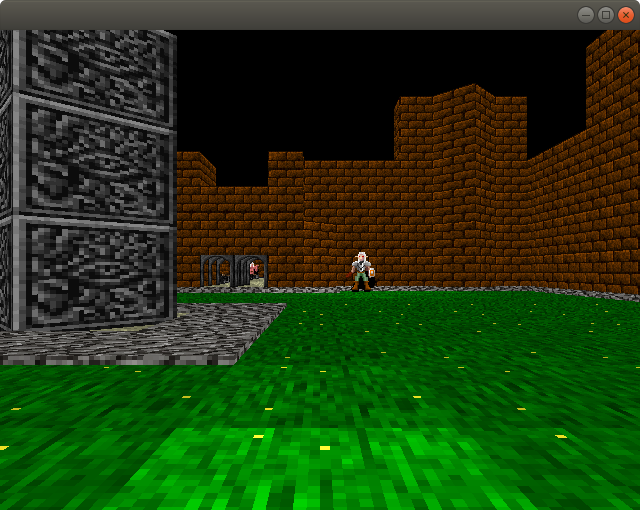
My base mesh for rendering is a column, not unlike what I did 20 years ago and a lot similar to what I did 15 years ago, when learning OpenGL. Every map is comprised of 40x40 cells, each having an index into a geometry table, with each entry of this table having floor and ceiling textures, heights and the main element geometry and texture. Also, the basic geometric element is a quad - making it trivial to render in a two-point-perspective, like Doom.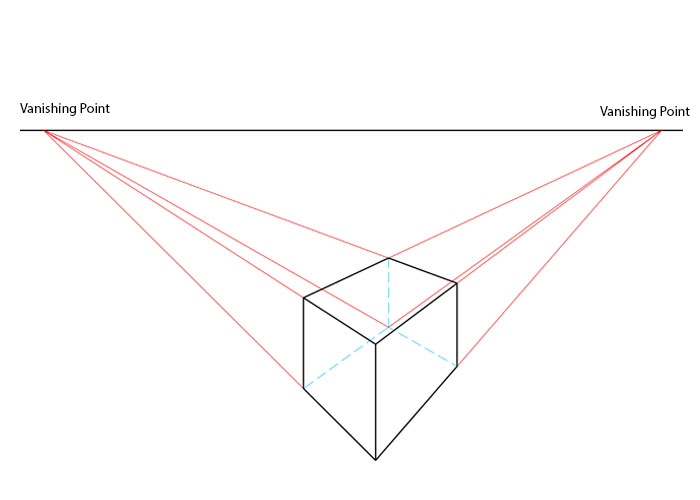
The making of a frame
After the game login update and once every game entity is settled, it's time to update the snapshot to present the player with a new
situation.
The renderer stars by consolidating a situation map, simplified to only what it will need for drawing the frame. It is slightly easier to move things around when they're smaller and cost less to fetch from RAM. Also, less function calls!
Having a local map, a visibility algorithm will flood-fill/cast the map elements, also making the rendering order as it goes. The details of the algorithm are big enough to deserve it's own article, but I will link to Tommasso Checchi's blog - it describes basicaly the same, as he implemented it on Minecraft Pocket Edition some -5 years before[1]. Having a visibility map cached, the engine is ready to redraw the frame (if needed).
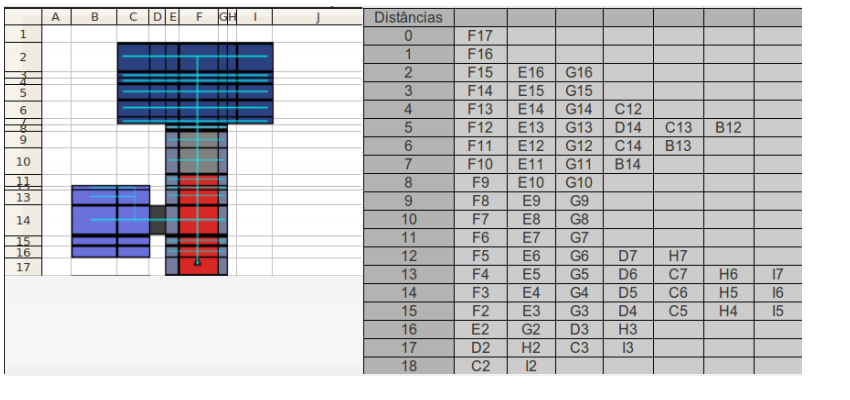
It will go thru the entire list of positions, back to front, transforming the given position to it's equivalent for the given camera rotation. This is the way I did it 20 years ago - no fancy math - just simple integer additions. I used to be ashamed of this and many more shortcuts I took back then, but eventually found that even Master Carmack did some of that stuff.
Now, having the proper position in screen space, it's time to inspect the neighbours and the position for the cell, to eventually avoid drawing some walls that will not be visible. This is, again, being limited by the underlying data and avoiding more heuristics that might not pay off.
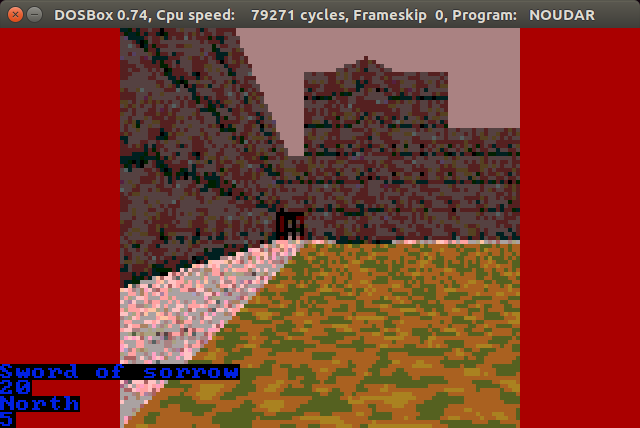
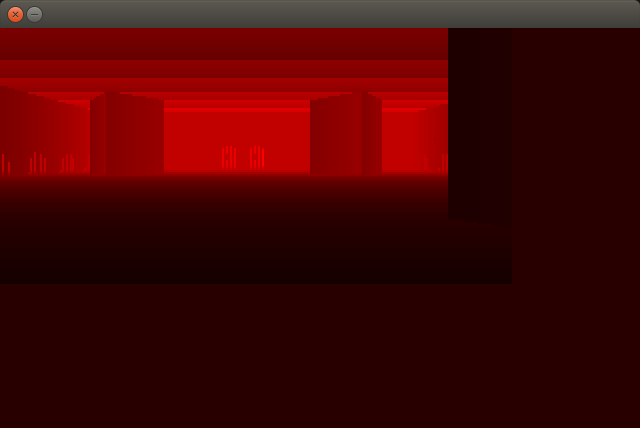
One important consequence of not performing the traditional rendering pipeline operations is that the level is rendered as a clean cut into the geometry, rather than having a camera engulfed by the soup of quads. That can lead to even some minor spoilers and puzzle solutions being revealed. The cheapest solution I found was to draw a black rectangle over those details. It's ugly, but necessary for the geometry to make sense - and people don't seem to care that much about it.
The final step is the rasterization of the geometry. To keep things simple and efficient, I've decided to have different code for floor and ceiling, general walls and front-facing walls (and sprites); each cell might have one of more of those, with the configuration of tiles being loaded from disk as the level is loaded, along with the textures.
Why not load the textures once and keep it in memory? I was sloppy and decided to reuse some texture definitions instead of having a superset. That means that in some places, you might seem to be walking on stone, but it might be a lowered "bed" - or maybe the start of staircase is simply grass with a another texture.
Back to rasterizing, once I've projected all 8 vertices (by having a 8 vertices buffer and thus saving 7 calls), it's time to call the 2D texture stretching code. This is quickly turning into the "tight loop" realm, where function calls become a luxury to be avoided and cache coherence begins to matter. Might seem silly, but I've gained major speeds by fetching textels with incremental pointers, line by line, and applying it similarly.
One funny optimization is that, for front-facing quads, if the current texel line is the same as before, the program will simply copy it from the previous line of fragments instead of performing another texturing pass. That gave me some 20ms speedup or so. The major point to take here: reaching for memory is expensive. In all geometry rasterization, I will only fetch a new texel once it's sure to need it. And the smaller, the better! Since I know that this is exclusive to mode 13h (phallacy!), I know I can use the palette index directly (foregoing lightning for colour resolution).
Et voilá! You've got a frame!
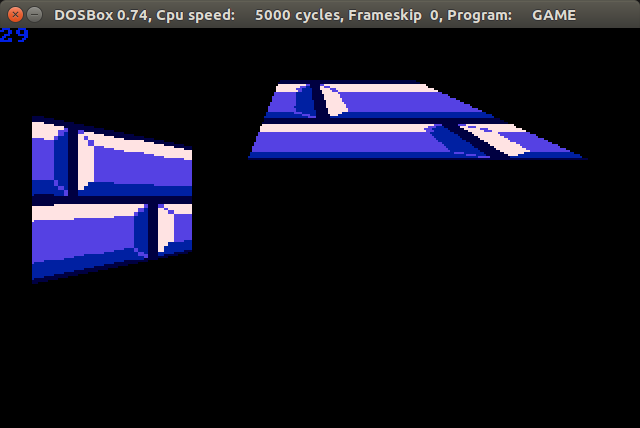
False starts
Some of the readers might be familiar with the history of Dungeons of Noudar development. To others, here's a one liner: An Android VR game that eventually got a Mesa Offscreen rendered port to DOS that would run almost at playable speeds on a 486DX, if limited the draw distance to almost your feet and halved the screen resolution. Lame!
My first attempt at something better was Raycasting and I spent a good time trying to either speed it up more and make it more versatile with the geometry it could render. Sure, Rise Of The Tried achieved some really interesting results, but I kept failing to achieve the same results without some really deep changes or speed penalties. All in all, I knew it could be simpler.
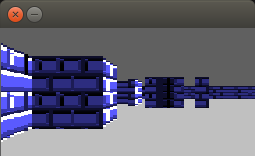
I wasn't very sure this was the right track until I had the first tech demo released. Before this last step, I also tried Z-Buffering, with that being the first time I actually implemented it for real, since my previous attempts with [1] also took care of draw order. My main issue with it was the lack of resolution, which led me to embrace once again painter's algorithm. It's simply faster and more correct to have the overdraw.
How it can get better
Project vertices only once per cell: As of now, I don't take advantage of the permanent nature of the vertex buffer, contantly reprojecting the same vertices on a given cell. This is a simple optimization that simply never came to me until I decided to sit and write this.
Lightning: As of now, there is no lightning calculations - but even a hard lightning where something is lit or not could even pay off by making rendering faster and more pleasant at the same time.
Better use of fixed points: a late addition to the code (it's not even on the 1.0!) is the usage of 16-bit unsigned fixed point to "walk the texture" instead of signed 32-bit ones. Having smaller code and data help you stay inside the cache.
Ramps and slopes: that one is trivial and won't probably cost all that much to write, actually. It's just that Noudar didn't really needed it.
Smooth(er) turning: given that the camera turns 90-degrees at-a-time, having at least a step for 45-degrees would make things much more natural. That would require a revamp on the world-to-camera space transformation and new code for floor drawing, since the one already knows you will be seeing it from "behind".
Backporting improvements into modern ports: The previous version codebase still builds (after some minor tweaks), but it's quite bloated by comparison. A lot of the code written for this version can very easily move into the OpenGL ES 2 version.
[0] An accidental rubber ducking - while writing this article, I realized there was an calculation happening at least 80 times per frame that could be performed one once. Shaved anoher 2ms or so!
[1] Yep, the minus was intentional. His algorithm is close enough to the one I implemented in 2009 (and described in my BSc. final project, in late 2010) that I can only hope that there was no GPL infrigement. TBH, the idea was not all that ground breaking and he probably never saw my (quite slow and messy) code.
His articles:
http://tomcc.github.io/2014/08/31/visibility-1.html
http://tomcc.github.io/2014/08/31/visibility-2.html
My code from 2009 (line 1012 - it's a mess! And slow!):
https://garage.maemo.org/plugins/scmsvn/viewcvs.php/angstron2/packages/trunk/Gam...
Comments
Log in with itch.io to leave a comment.
Building from scratch without prior experience in the platform is commendable, and your write-up will help people experimenting along the same lines.
I watched the video and didn't realize how much of a penalty there is with painter's algorithm -- there is a very disturbing amount of overdraw, nearly 5x the amount of actual pixels in the frame. Did you give thought to raycasting the vertices of the quads to quickly eliminate polys that don't need to be drawn? A 486 has way more system memory speed than video ram speed, so eliminating overdraw is worth the effort.
Hey Jim - nice to see you around here! Thanks for taking the time.
My first attempt was a Raycasting engine, and while the speed was actually quite nice, I felt it would constrain the kind of environment I wanted to create. To be honest, never considered sprinkling some raycasting into later implementation.
That video you saw was from the SDL version, with me performing a flip on the video surface on every pixel, to help me debug stuff. I actually draw to offscreen buffer first and only then send everything to VRAM. To be fair, there was a fair amount of sloppy level design in there was well.
For my next project (The Mistral Report), while I did employ this same visibility algorithm, other options are still on the table. One thing I want to try is having a 1D Z-Buffer (Doom did that, AFAIK) for every column on the screen and perform the drawing front to back. Or simply go for portals-on-volumetric-sectors for good?
Finally, there is the undeniable bloat legacy from this engine being an port from a Android game I wrote while learning C++14. No wonder the binary end up with 800KB, while the rewritten engine for The Mistral Report is almost pure C99 and only has 150KB or so. Writing code for 486s was eye-opening.
If you thought 486s were eye-opening, try the 8088 ;-) "I can only access 64K at a time? All the registers are 16 bits wide? What the hell is this crap?"
While we used Z-buffering in the demoscene for a few objects, I don't think it would offer an appreciable speedup for the kind of overdraw you're doing -- you still have overdraw, but this time in the zbuffer. It would save a little time during rendering as you'd only be looking up texels once per onscreen pixel, but that's not much of a speedup...
You might be onto something regarding a portal system. Check Fabien's analysis of the Build engine, it might give you some ideas: http://fabiensanglard.net/duke3d/build_engine_internals.php